When you’re just starting out taking photos or videos, learning proper framing is the first step to making good images. A lot of amateur photo and video is hampered by poor framing choices– bad use of space, a distracting background, an odd placement of subjects will all distract the audience from your intended goal. In our experience, improving composition skills has the fastest impact on raising the quality of images, and therefore increasing the impact of a visual story.
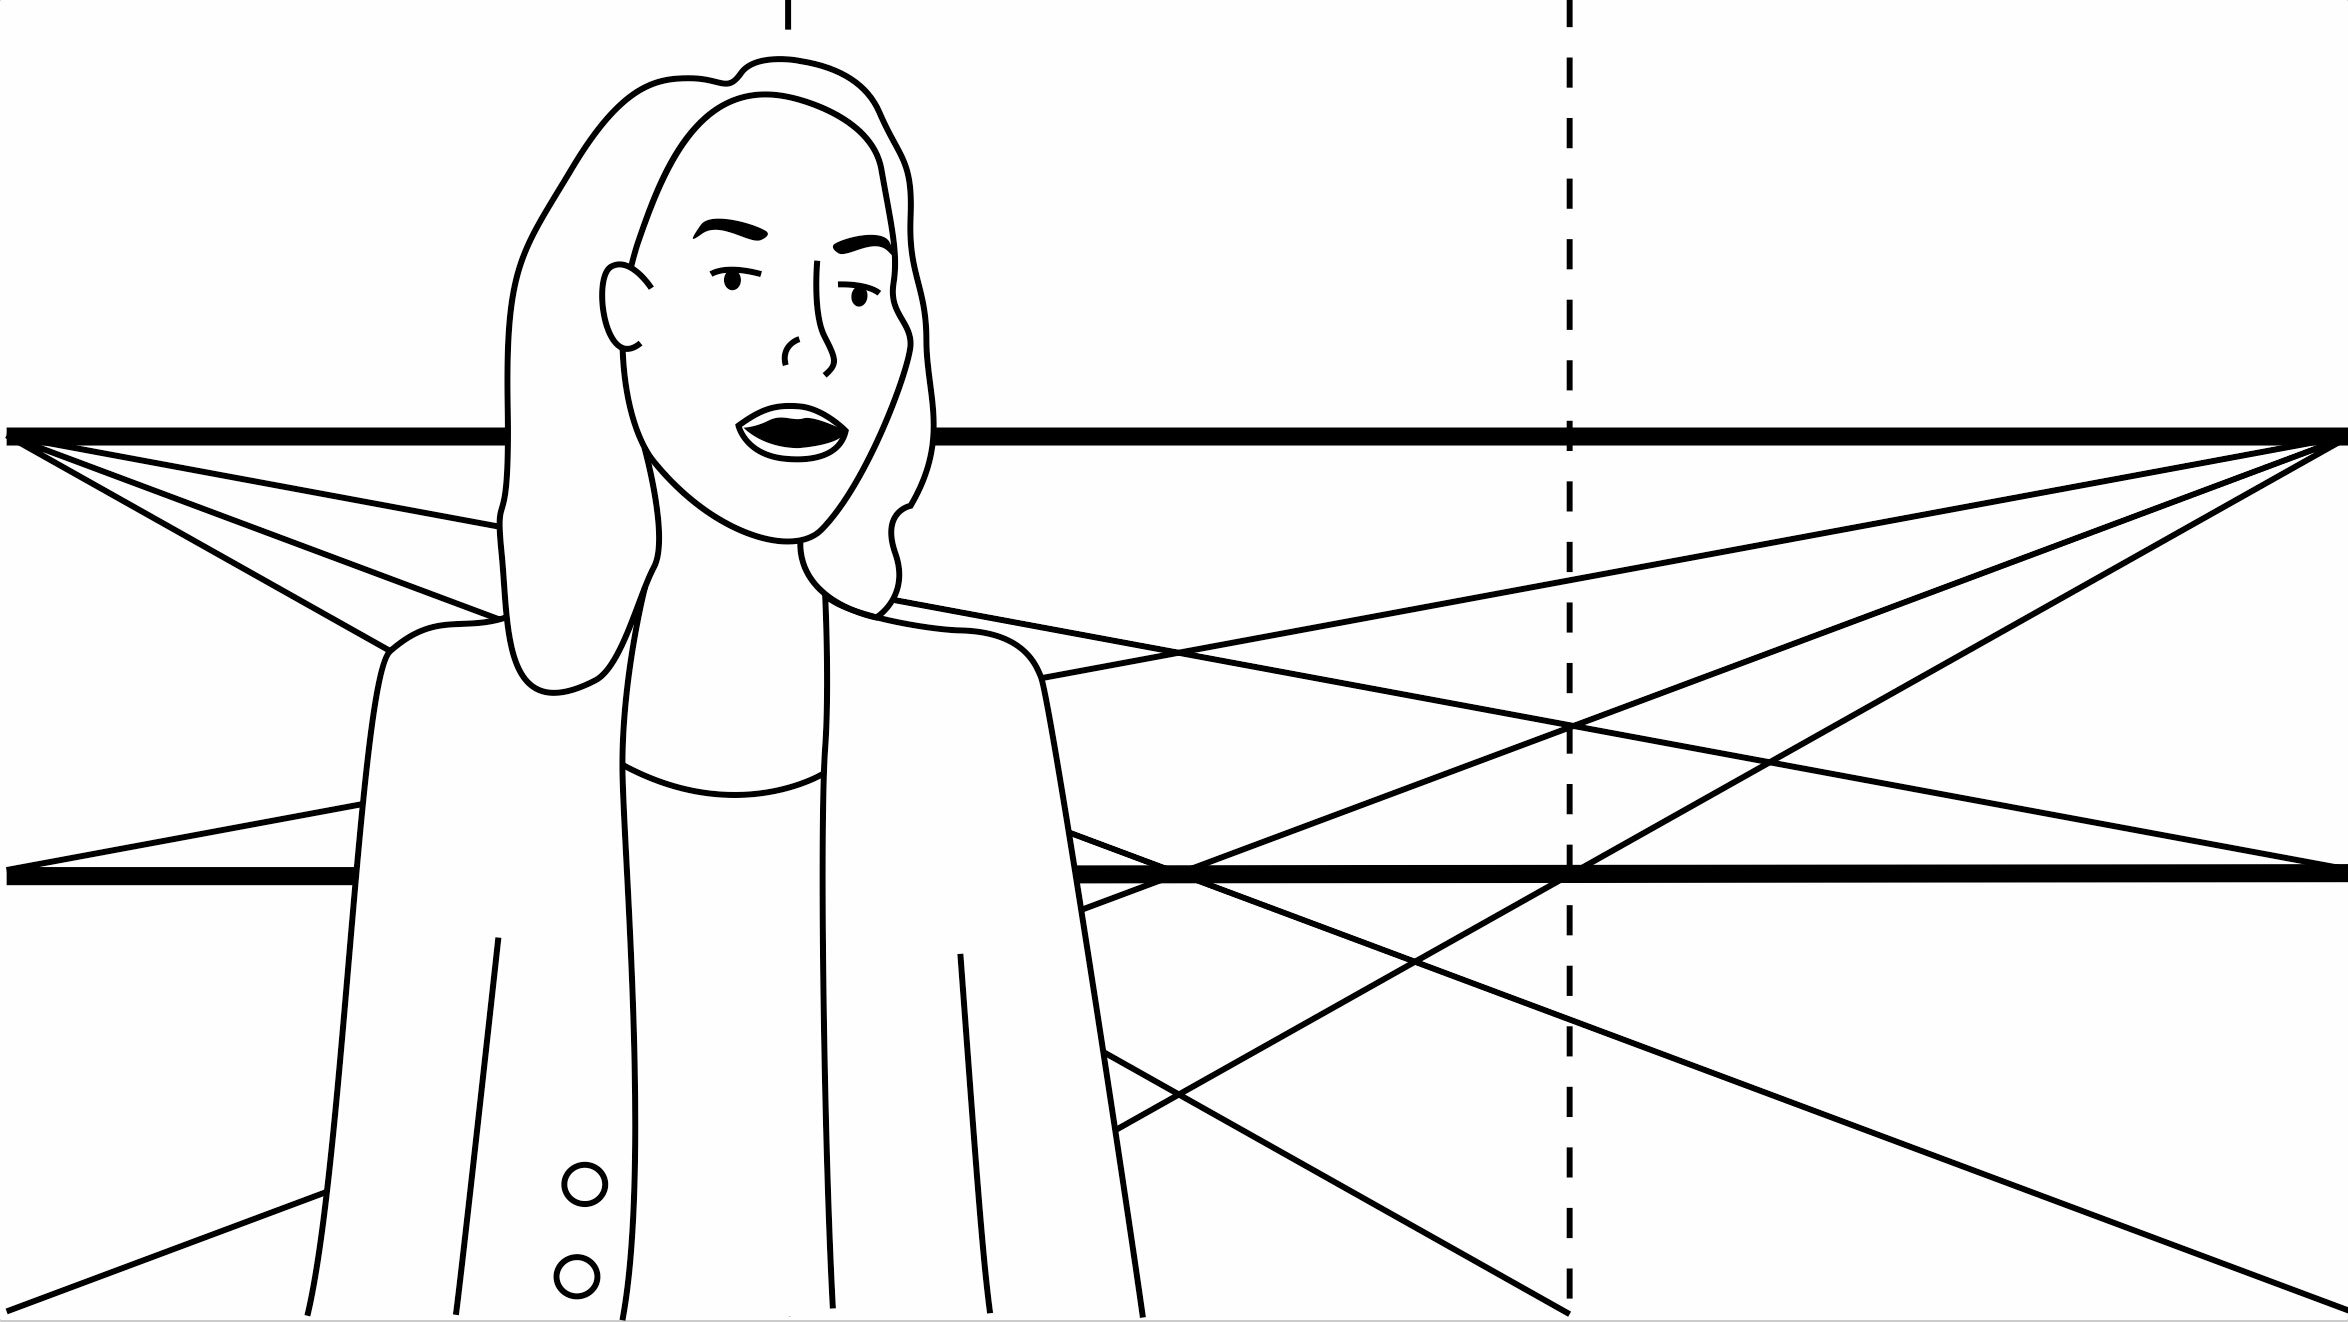
To this end, one of the main tools built into the StoryMaker app is a set of overlays that sit on top of your device’s camera viewfinder to help you align the subject of your shot. An example of a medium shot overlay can be seen above. The overlays have various real-world scenarios drawn into them, such as close-ups, landscapes, and portraits, and appear depending on what kind of shot you are trying to get.
Framing shots is an abstract skill that has traditionally been learned through trial and error. Different cameras have used different kinds of guidelines. For photography they might have a couple of cross hairs, like this:
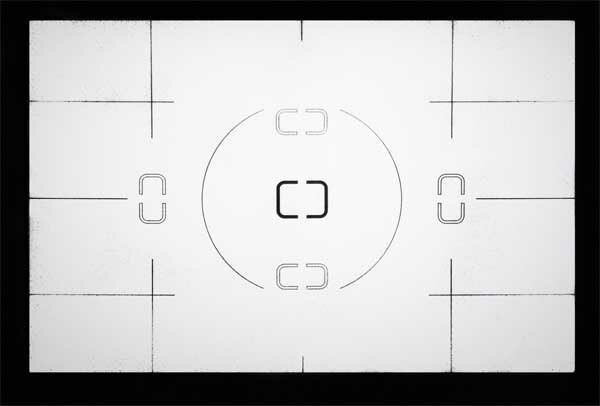
This is a common style of overlay you’ll see in SLR cameras, with different parts being highlighted to indicate focus. It’s very abstract, but once you become familiar with it, it becomes a second way of ensuring your shots are in focus.
Now, on the other end of the spectrum there are really literal overlays in use in some cameras. Take for instance this overlay which is increasingly common on trucks and cars.
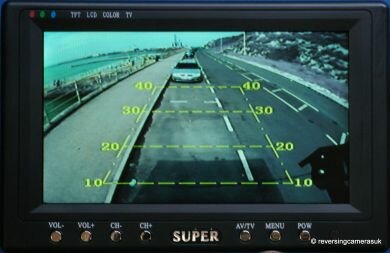
No longer comfortable with only a rear view mirror, we now have rear view cameras to help truckers see if anyone is driving too close. With a known lens focal length, and an approximate placement, drivers can see in real time exactly how close someone might be tailgating them. As cameras are become more affordable, it’s increasingly easier to use them for single tasks. If you take this camera off the truck, the overlay in this example becomes useless.
In many conversations between Brian and I over the years about how to best teach people different aspects of photography and filmmaking, the overlay idea kept coming back. If we could just put our examples on top of our trainees’ cameras, they could see exactly what we talked about in class while actually shooting their content.
After a human rights conference in San Francisco, I had an 18 hour train ride back to Portland, so I hunkered down and began playing around with the shot example files we had created for our training guide that summer. I played around with deleting different amounts of the overlay while looking at a shot of an interview I had done at an Occupy Portland event. The purpose was to explain the subtle difference between good headroom and bad head room; we used the image later as an example in our video reporting trainings.
Why not put that kind of instruction directly into the camera?

The original mockup of a StoryMaker overlay, with live subject in the frame.
It’s an idea that makes sense for our era of ever-more inexpensive and portable photo and video technology. Saying what makes a shot “well composed” is a matter of taste, but there is a common visual language that indicates production value. Imaging equipment has been dominated by highly technical people focused on technical perfection in the quality of the image. In previous eras when a camera was an expensive tool, it made sense that you wouldn’t buy a camera explicitly built to teach someone how to operate a camera. You would not get the value out of it for the amount of time you would be using it.
Camera apps and manufactures are beginning to play with what other options they can offer, with most boiling down to filters for photos in the wake of Instagram. We’re taking a more educational approach, trying to help people understand what they can do from a technical stand point to make their images more appealing. What Instagram does with filters, we want to do with compositions. With StoryMaker you’ll know what overlay is the right choice for your goal.

StoryMaker 5 Basic Shot Overlays, for a close-up shot. Click to enlarge.
Camera guidelines have always needed to be very basic so they could apply in every possible circumstance. That made a lot of sense when camera manufacturers had to provide something that worked in every possible case. Now that cameras are also powerful portable computers (sometimes known as smart phones), we can finally start experimenting with these guidelines and create custom experiences to help people at the point of production. That’s what we’re doing in StoryMaker. Check it out and tell us what you think!
I’ll be writing more about the compositions, and how they evolved in the coming weeks.
–Steve Wyshywaniuk
© 2013 Small World News
This is incredible. Great work!